Your Synology NAS is like a playground for trying out various infrastructures thanks to Docker. When crafting a simple web service, I felt the urge to experiment with NoSQL as a database, so I decided to spin up mongoDB. Let’s walk through the steps for those who might find this useful.
First, fire up the Docker service on Synology DSM and head to the registry menu to select the mongoDB image. Make sure to check your NAS CPU — if it doesn’t support AVX (Advanced Vector Extensions), you’ll need to download version 4. Versions 5 and above won’t run on CPUs without AVX support. (By the way, Celeron processors don’t support AVX.)
Once you’ve got the image, go ahead and create the container. Mount the volume to the ‘/data/db’ path, and set the container port to 27017. For simplicity, match the local port to 27017 as well. Remember to add the database root account and password as environment variables. Define the password with the parameter ‘MONGO_INITDB_ROOT_PASSWORD’ and the username with ‘MONGO_INITDB_ROOT_USERNAME’. After setting these up, your container will start, and mongoDB will be up and running. 🚀
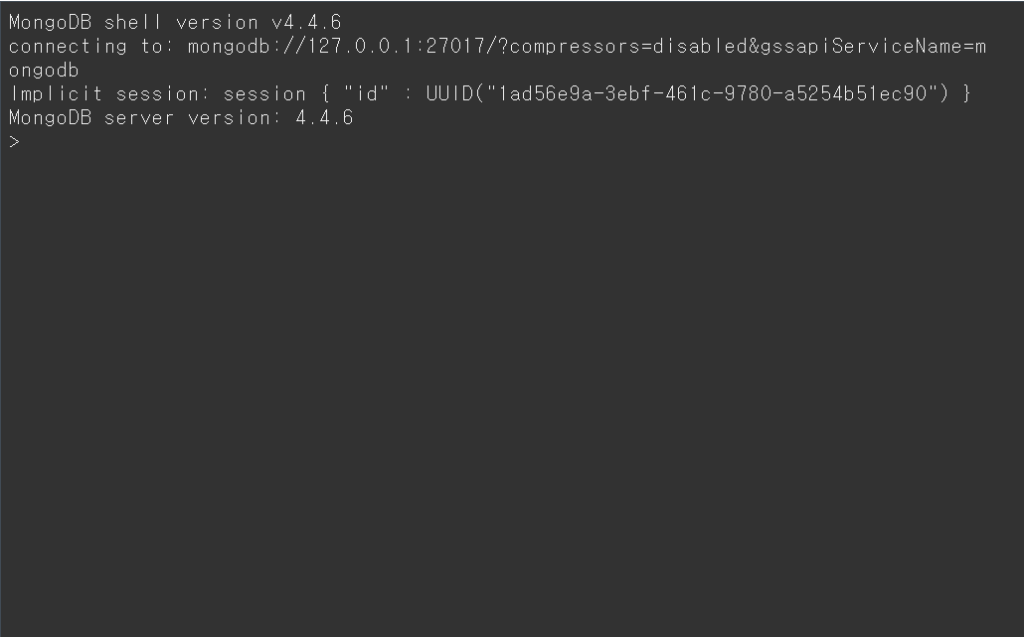
If you want to work directly in the terminal on your mongoDB container, open the container menu and select the terminal option. Unlike Ubuntu, it won’t connect immediately. Click the create button at the top left, then hit [Execute with command] and register the command ‘mongo’. This will create a ‘mongo’ button below it. Click it, and you’ll see the mongoDB shell open on the left side’s black screen. You can use commands here to fetch information or perform various tasks. However, remember to authenticate when accessing the DB Shell through Docker’s terminal to avoid errors1) by entering your account info (‘mongo -u username -p password’).
Lastly, let me introduce a tool for connecting to mongoDB with a GUI from your client. Previously, there were free software Robo 3T and paid Studio 3T, but they’ve now merged under Studio 3T. Install this program, and you can enjoy all features for the first month; after that, a limited free version is available. Of course, you can opt for a paid subscription to access all Studio 3T features, but who really does that? 😉
After installing the program, execute DB Connect, and you’ll see a window to input database information. Choose the manual connection management menu, then [Next]. When the connection window appears, name your connection as you like. Enter mongoDB’s IP and Port under the server section. Move to the next tab, Authentication, and select Legacy (SCRAM-SHA-1) as the authentication mode. Input the root account and password you set during mongoDB installation in the username and password fields. Lastly, in the authentication database field, write the database name where the user is registered, which is ‘admin’. (Terminal access was needed to figure this out.)
Once you’ve filled out everything, click the [Connection Test] button at the bottom left. It should connect just fine, fingers crossed! 😉
Bonus tip: To directly access the root where mongoDB is installed, choose [Terminal] – [Create] – [Execute with command], type ‘bash’, and hit confirm.
1) Errors like ‘command insert requires authentication‘ might occur during CRUD operations
Info created on: 2022-10
Leave a Reply